
How to Store & Print Photos
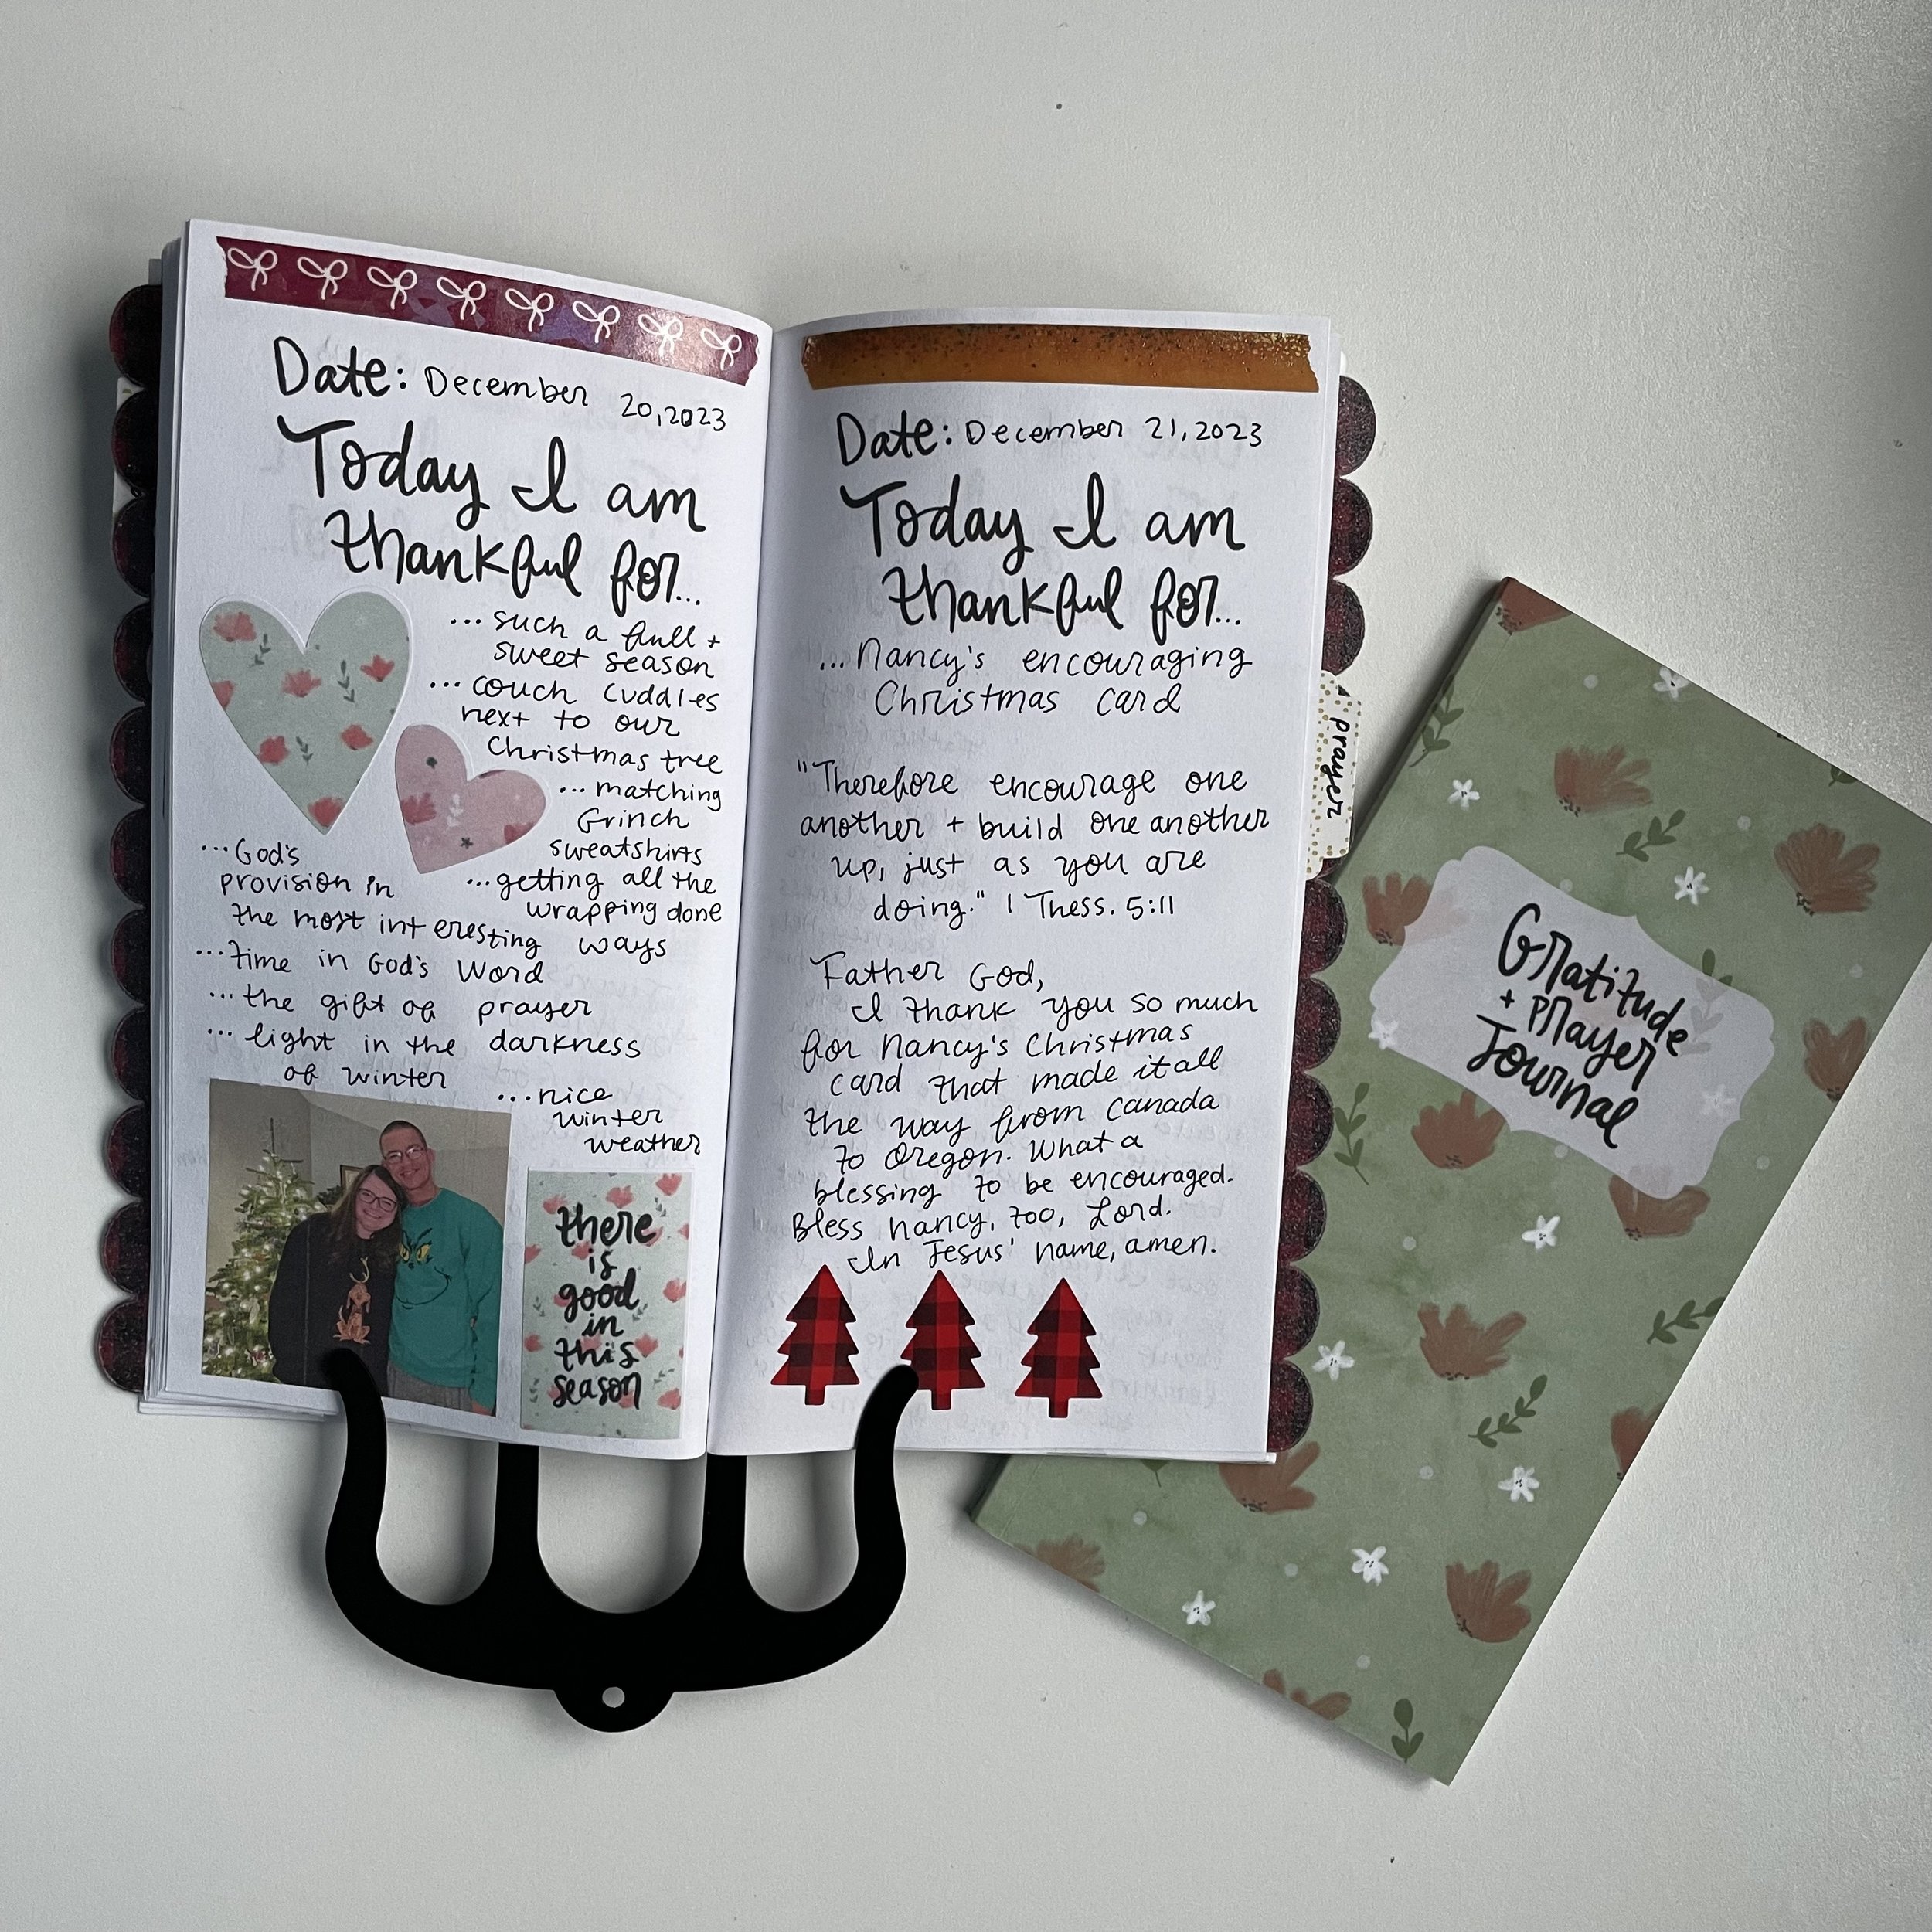


I love using photos in my gratitude journals, prayer journals, and seasonal memory keeping journals. I love printing photos to add to my planners, too. Here is step by step how I do this.
Getting Photos from Phone to Computer
1) I like to use an app called WeTransfer to send my photos and videos from my cell phone to my computer. I have an iPhone, but I don’t have an Apple computer. My laptop is HP. When I try to plug in my phone to the computer to transfer the photos, it gives me errors and doesn’t let me. I have found the easiest way to transfer photos from my phone to my computer is using a free app called WeTransfer. This app does not reduce the size of your photos and videos. It is super easy and free to use. I try to transfer my photos at least once a month from my phone to my computer so they are backed up.
2) I organize my photos into folders. I have a main folder for each year, and then I have folders organized by the date and event/activity.
Photo/File Storage
These folders are stored on an external hard drive. Back in 2022 I had a catastrophic event happen with an external hard drive I was using. I had purchased two Synology external hard drives from Costo. I was storing all my Creative Faith files, photos, and projects on these external hard drives. It was a hard drive I had to plug into my laptop in order to access the files. One day when I plugged it in, the external hard drive was not working. I could not access my Creative Faith files. I reached out to Synology and tried their recovery service, but it did not work. Several months of time and effort were lost forever. Both of the Synology external hard drives I had failed.
NEVER EVER buy the Synology external hard drives from Costco!
I do still have a Western Digital external hard drive that plugs into the laptop that I use as a back up. This brand has not failed me yet, Lord willing.
I switched to a different external hard drive set up where it uses wifi to access the files. I don’t need to physically use a cord to plug into my laptop to access them. While I like to limit wifi in our home, in this instance, I am fine with it because it is storing many years of photos and things I have created. Here is what we purchased based off the recommendation of my sister and brother-in-law. This is the same system they have set up.
Synology 2 bay NAS DiskStation DS220+ (Diskless),Black
Those are affiliate links, which means I get a small commission if you use that link to make a purchase. Thanks for supporting Creative Faith & Co. :)
I think it is a good idea to have your photos/files physically backed up on an external hard drive and have a cloud-based system, too. I have some things stored on Microsoft 365, which is a cloud based system on my computer. I know some people use Google photos or Dropbox. It is important to have them both places, that way if our house burns down or something gets damaged or stolen, the files are in the cloud. But if the cloud fails or has a problem, I still have them on the physical hard drive.
Supplies Used to Print Photos - Affiliate links
Epson Ecotank Printer 3760: I LOVE this printer so much. It has save me hundreds of dollars in ink costs compared to the old printer I was using. It comes with ink installed already. It says that ink it comes with should last you two years. Before using this printer, almost every other month I had to purchase new ink cartridges. I print everything at home for the Creative Faith physical kits, plus all the printables and photos I use in my own personal journaling. The ink the Epson Ecotank came with lasted me one year, with which the amount of printing I do, I was thrilled with. Cannot recommend this printer enough!
White label paper: I love printing things on white label paper. I love that it has an adhesive back, so I don’t need glue or a tape runner.
I want to preface by saying you will not get super amazing high-quality photos from using these supplies since I do not use photo paper. But this is a more affordable way for me to include photos in my journaling.
How I arrange & print photos - Microsoft Publisher
1) My favorite way to print photos is arranging them using Microsoft Publisher. Not everyone has access to this, but if you do, I highly recommend it. You could also use Microsoft Word. In Publisher it is easier to move the images around than in Word. I open a Publisher document.
2) Next, I access the folders on my computer and add the photos I want to the page. I try and cram as many photos onto one sheet as I can to not waste the paper. It turns into a large collage-looking page. I like my photos to be 1.5-3 inches tall. I mostly use traveler’s notebook and A5 size pages, so smaller photos are just fine. After arranging them, I print, cut them out, and add them to my journaling.
How to arrange & print photos - Canva
1) Canva is a free program online you can use to make many things. I use this program daily for Creative Faith work and my job at the church. You can do something similar in Canva to what I do using Microsoft Publisher. First, create/open an 8.5x11 inch size document in Canva.
2) Upload the photos you want to use from your computer into Canva.
3) Arrange the photos on the page. Again, I like to use a collage style and cram as many pictures on a page as possible while making them big enough to see.
4) Export the Canva file as a PDF, then print, cut, and use in your journaling.